Saturday, 21 February 2015

With Love .. on Valentine`s Day

Hello! J How is everyone doing? Hope all of you are a having a pleasant weekend. I’ve been back from work and the weather is a bit chilly and rainy again. This year we can’t complain with lack of rain, actually there was plenty of rain and hail. I can even notice all my cats are all curled up on the sofa J I am more of a winter person, the heat we have in summer here kills me, so I don’t mind staying in

 Valentines Day came and gone, this year I was commissioned to do two cards, one for a female and one for a male.  
Both cards are on the vintage look and also by time I discovered that it’s my favourite style. 


I have decided to stick with love. Hate is too great 
a burden to bear.
Martin Luther King, Jr.


Tuesday, 3 February 2015

The Jewellery Box

Hello Everyone  J Monday is already gone and the weather  outside is freezing brrrr,  so  here I am sitting in front  of my desk …

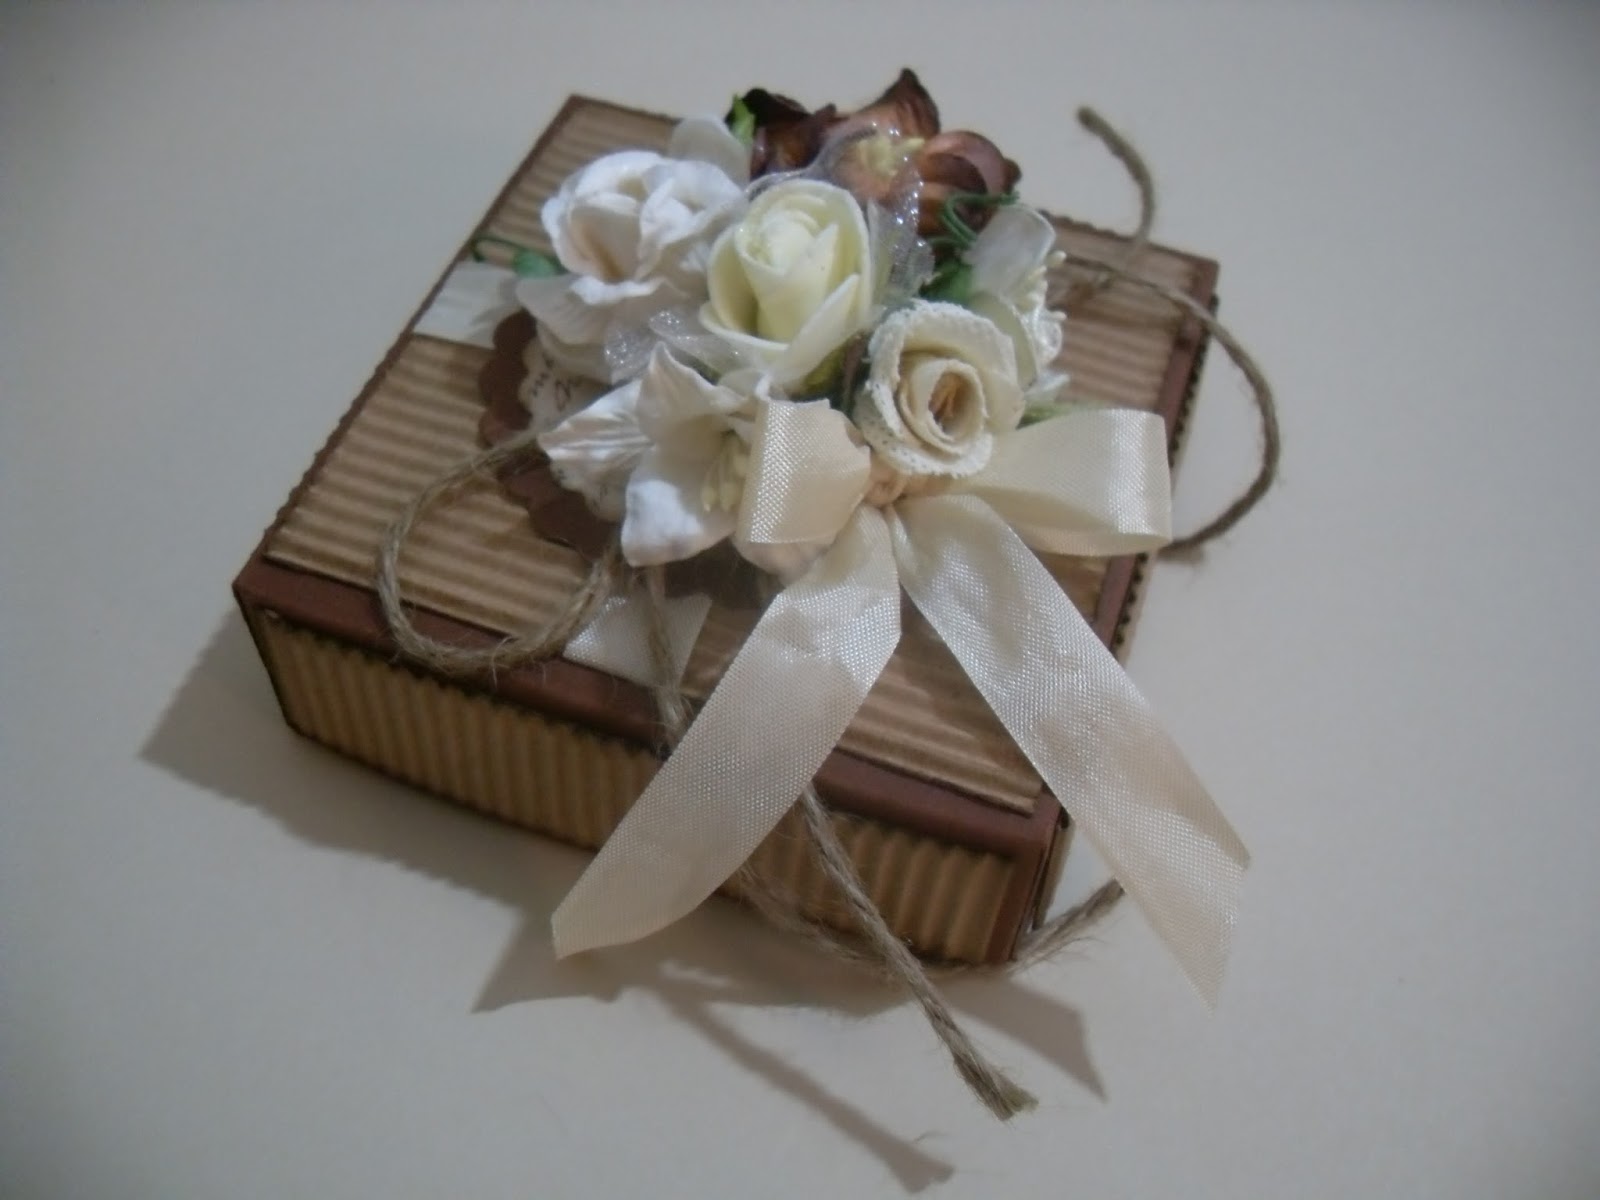
Today I am going to share with you and a simple gift box  which I altered into a jewellery box. Actually I never did something but wanted to give a try.  This reminded me of a jewellery box granny had in her bedroom if not mistaken made by the cloistered nuns. Whenever I entered this room I was fascinated by this jewellery box, especially those particular chenille flowers on the top.


The outside I covered it with paper and decorated the edges and sides with lace ribbon and braids.


The inside covered  it with satin  and underneath  with foam.


 On the inside of the lid attached a small mirror, framed with guipure braid and some embellishments.


Carmen xx


Wednesday, 14 January 2015

The Cake Topper

Good Evening J


Another new year started and already half of January in. I am another year older, a little bit wiser, young at heart with an old soul J


It’s been months since I blogged. Been so busy with my job, running my home and most of all having a grown up son still living with me.  Well I did quite a lot of projects which I will be posting from time to time. 

So here I am posting a project from last year.  This is a wedding cake topper with the brides and groom initials.

I just bought the initials ready painted in brown from a Euro shop and ohh by the way they are wooden.  Then I painted in white and distressed the edges and decorated with flowers to keep on with the theme of the wedding which was a vintage theme.

Love, peace & joy to you
Carmen xxx


Sunday, 14 September 2014

A Bridal Bouquet

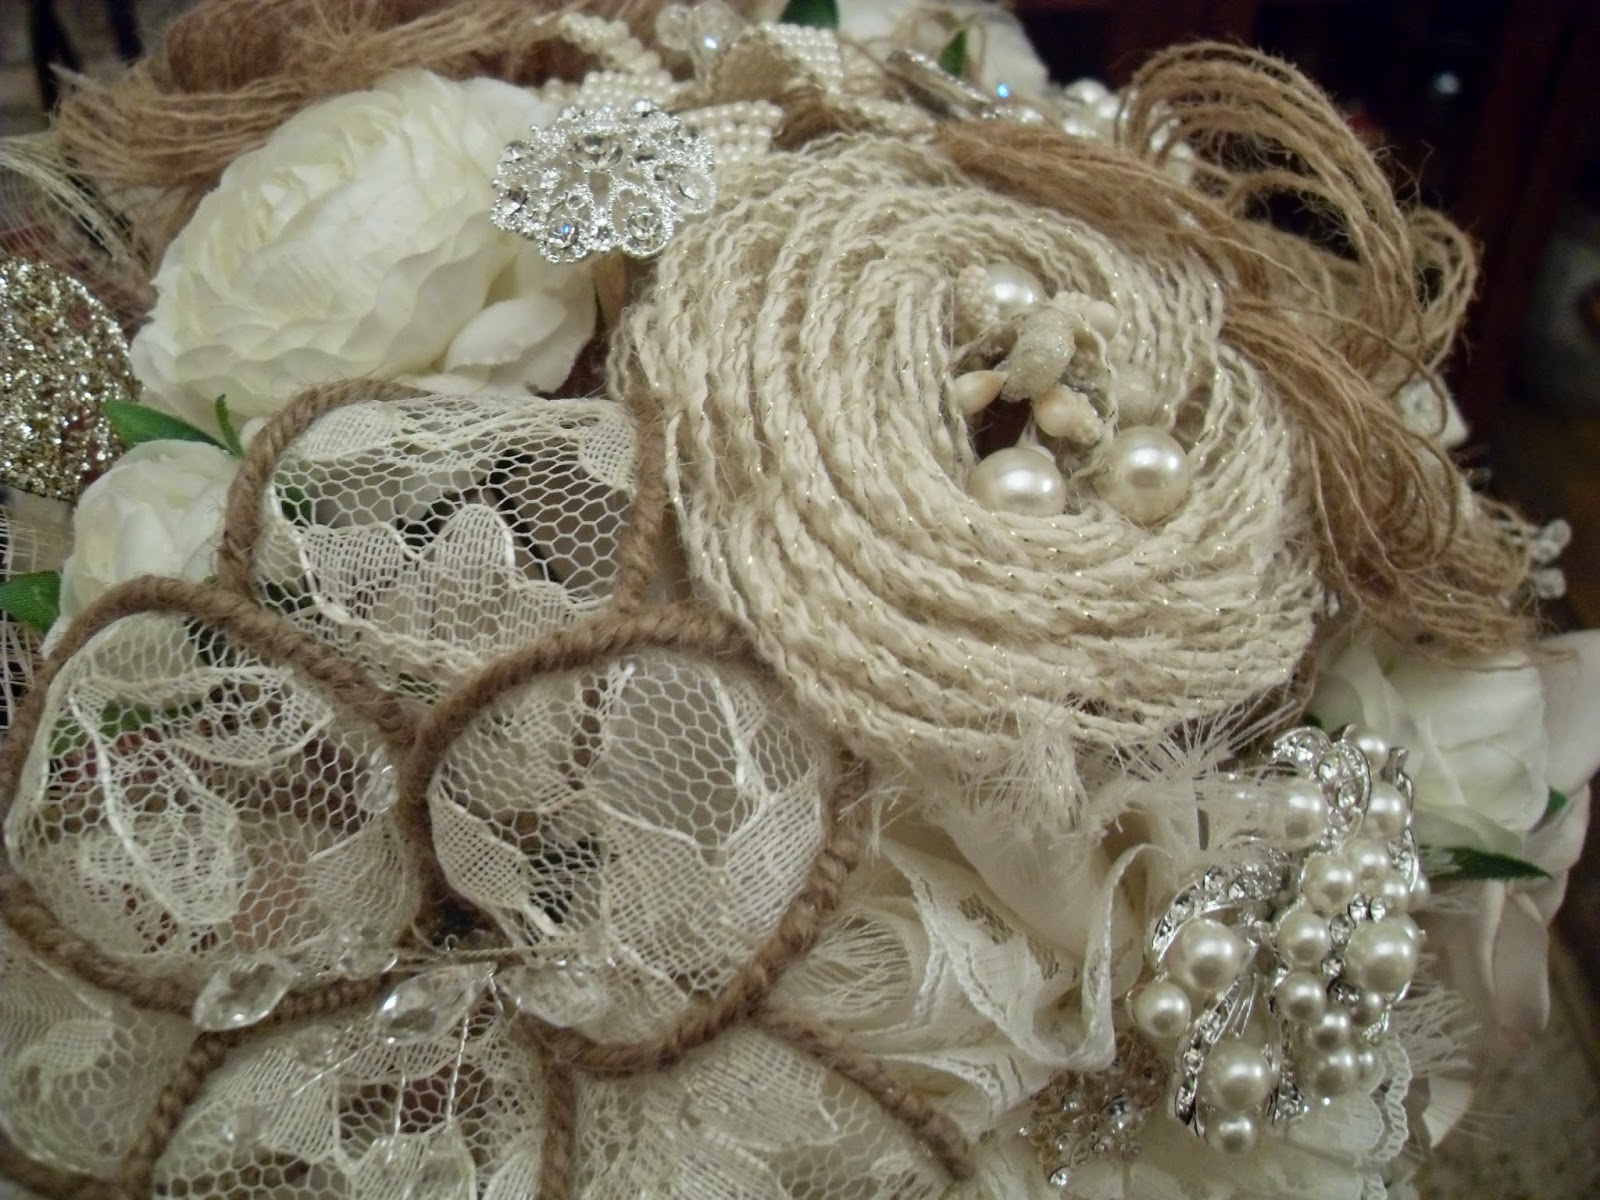
It had always been an idea in my mind to make a different and unusual bouquet. I already had done one very unusual consisting a lot of wiring and with orchids attached to it.  So as soon as I got to know that I have to make my sister in law bouquet, I had to lay out my thought.  This time i wanted to make most of the flowers myself with different types of materials and texture.

It consisted from satin, silk and lace flowers, beaded flowers, burlap flowers and wired flowers. Also  not I did not forget to put in plenty of brooches to keep up with the latest trend.


To give it that personalise touch  I incorporated  two brooches with  their initials.


The knowledge of all things is possible

Leonardo da Vinci

Friday, 1 August 2014

A Wedding Ring Pillow

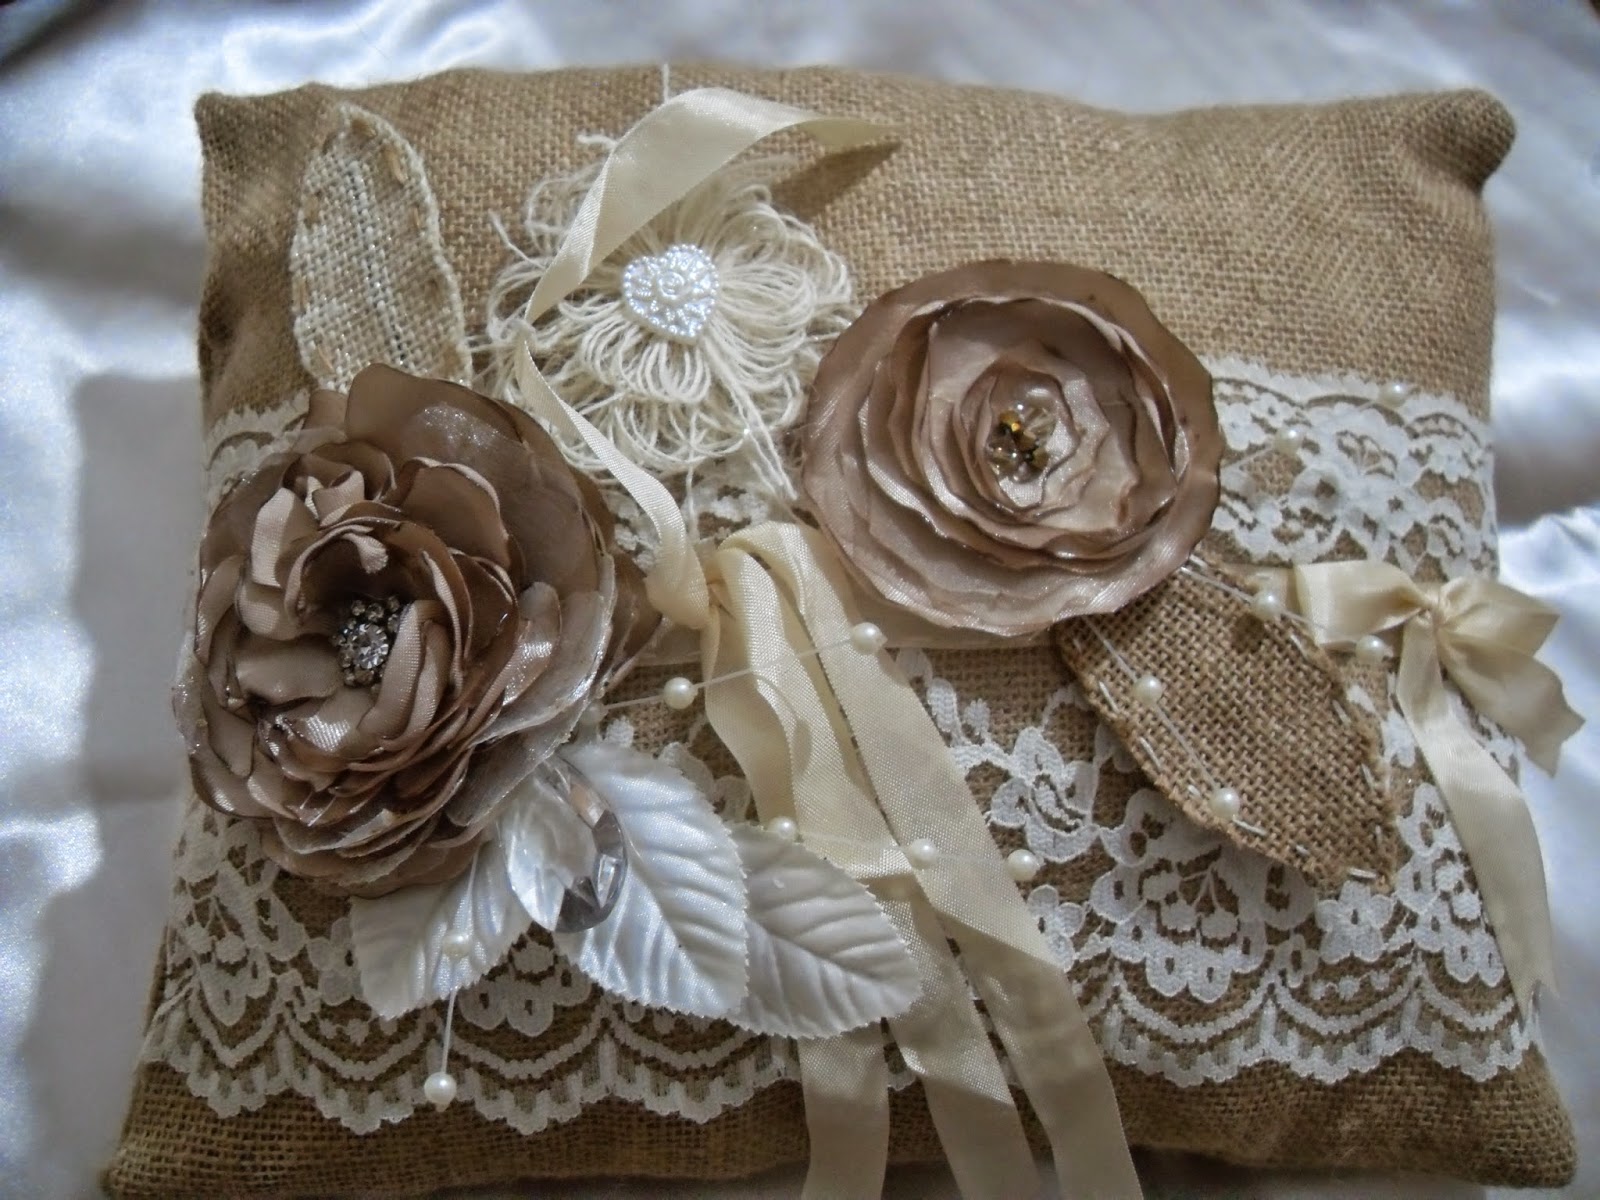
My sewing machine  just died  on me,  and I didn't have time to fix  it , neither  that it is worth it anymore. It had a sentimental value as it was the first thing I bought when I started working. Not really that I was expecting this to happen now, when I was pedal to the metal preparing the wedding things. Nothing did stop me from working, so I had done every sewing job by hand and to be honest I was quite surprised with my outcome. J

Materials Used
  • Burlap material
  • Satin material
  • Lace 2” wide
  • Embellishments
  • Some beads for flowers
  • Seam binding ribbon
  • An old earring for embellishing
  • Silk leaves
  • Stuffing


Leaves  and flowers  were  used  by  pieces of  scrap  materials  which  I never throw away .


Happiness lies in the joy of achievement and the thrill of creative effort.

Franklin D. Roosevelt

Saturday, 12 July 2014

The Wedding Invites

I have never done wedding invites in my life apart from loads of cards. So preparing around 200 invites was a bit worrying, though taking inconsideration to keep the budget low as possible and also with a simple creative design too.

So we came up  with an idea to compliment the wedding souvenirs they had already made up themselves. and as they  used  jute  we wanted to incorporate  jute as  well in the  invites and  possibly in the other  things.

This time of year is the peak season for weddings on the island with many beautiful settings and ideas. Weddings  are something big with as many as 300 people which most of them would be relatives.

All I needed was card stock, embossing folder, lace, jute rope, distress ink, a stamp and satin flowers and of course a bow maker to make my work more efficient. 

So as I had all the materials at hand I started working on the largest project of my life .


We choose cotton lace  which is very similar to bobbin lace. To give it that aged shabby look we dyed it into instant coffee something I learned from the net. In the past I used tea but I prefer coffee  for that aged look that  I wanted . The dyeing process was not in my hands, J actually Desiree` the bride  had taken up the job to colour lace.


Friday, 20 June 2014

Back To Blogging

Hey peeps J I wonder you would ask where I have been lately for this long absence. So while most of the world  tonight is watching the World Cup  match  between England and Uruguay, I decided  to sit down here. Lately my life has been like a roller coaster, after all that is how life is just made off. While I  haven`t  forgotten to be positive as possible, and I truly believe that always from some negative situation, something positive comes out  J

One of my happiest  moments recently was,  my little brother got married. J Yippee!!  Now I can say that I have a sister-in -law as I don't have any sisters.  I was pretty busy organizing some of their wedding stuff, which I am so pleased  and happy with the outcome. With lots of thoughts, ideas and hard working had  great results.  They choose the theme vintage/ shabby chic which I am so much into. 

So before I continue blogging again I will share with you  a glimpse of my  recent work.


When two talented persons in a family join forces, the outcome is awesome. As my brother in the past was into the catering world, he decided that he will make his own wedding cake. It’s a pity he doesn`t work any more in that sector, as honestly I find him so artistic and creative when it comes to sweets. As for cake stands he used thick slices of logs to complement their theme and with a Pyrography signage  "Let Them Eat Cake" 


So until next time  friends..

Life isn't about finding yourself. Life is about creating yourself.
George Bernard Shaw


Monday, 4 November 2013

Exploding Box

Ahh finally back from my hiding heaven or else my always exploding crafty corner.  J Well this is my first time ever messing about with explosives.  J  Hey wait a minute am talking about craft boxes. Hihi  J

So do not worry i am not that dangerous to hang around me...

I had seen many beautiful exploding boxes on Pinterest. Wanted to try something very simple and to my vintage style.  The outcome  for a  1st  timer  was  something I am  happy  and  pleased with.  I thought that they were much more complicated to do but actually all you need is more patience and some precious time


And  today my dear friends I am ending my post with a  Native American Prayer  xx


Looking behind, I am filled with gratitude, 
looking forward, I am filled with vision,
looking upwards I am filled with strength, 
looking within, I discover peace 
-Quero Apache Prayer


Tuesday, 8 October 2013

Card For A New Home

Good afternoon crafters,  J yippee!!  We have rainy day here. Even though I am not posting much so lately, i want to assure  you  that i am pretty busy with things  going on and I have just started  taking  lessons in two different  things  i never done before . For the time being i am not going to tell you what i am doing J but in the near future will keep you updated and share  my stuff with  you.

Today’s project is this simple card for a couple that are moving into a new home. You don’t really need a lot of  expertise, just some imagination, creativity, papers and embellishments.

So while I go and get some more work done, wish you a blissful day and maybe later in the day will update something else ;)


 It takes hands to build a house, 
but only hearts can build a home.  
~Author Unknown


Tuesday, 1 October 2013

An Altered Box

Good morning my dear friends, September is gone and a new month is with us as well.. October is one of the months I love, many people start crafting for autumnal ideas and also gearing up in preparations for Halloween, while it would be 3 months to go for Christmas.
Today am going to post an altered chocolate box....

As you may notice I love chocolate J  actually I am a chocaholic!! I love that dark Belgian choc, am lucky enough to have friends to think of me, and make me a jolly person.  Chocolate, music and a furry friend are my greatest companions while crafting.  Well, what more can I ask for!


 The story behind this altered box goes …  one  of my friends  got me this box of chocolates, which I truly appreciated the loving thought,  but as soon as I saw the  box,  J  thought it would  be great to be saved and  used  for an altered  project.

So I started working on, and the result is this beautifully box opening like a book which is going to be used as a tags holder ... for a wedding wish tree!


Hugs Carmen 
xxx

Saturday, 14 September 2013

A Mini CD Scrapbook

As you have seen in my previous post, I promised to keep you updated about the mini scrapbook I done recently with CD`s.
So here it is all for you. I named it “Inspired” as I was inspired by the many beautiful  scrapbooks I have seen around and wanted to add something in about one of my passionate hobbies...  which is Sewing.


For the front cover used bits and bobs I had in my craft stuff. The sequin flower was given to me by a neighbor and in past it was embellishing a bag... A simple flower done by me in tulle was added and the other stuff are remnants from other projects.


On the second page layered on some free printables I found from a blog by Gina`s Designs On the main card sewn on some mother of pearl buttons and the other wrapped around some seam binding ribbon. The mini tile is made from polymer clay by myself and fixed on a little saying from Prima papers - Life Time Collection. At the end sanded the edges and distressed them in brown to give the look of a tile and finally applied on Ranger- Glossy Accents.


For the background of this page used papers from Tim Holtz - Idea-ology Collection made a vertical pocket with some tags in the pocket and also between the pages. At the edge of pocket glued some lace and a bow along the pocket with a little paper flower. Each page I distressed it and inked the edge in dark brown.


On this page applied the rest of printables by Gina`s Designs and underneath inserted a tag and some tokens.


On this page used various stamps as the paper was just simple blank. In the middle of the page I glued on a quote about inspiration, to keep up with the subject of the scrapbook.  At the edge stamped on two swallows as if they are holding the last verse of the quote and at the bottom arranged some flowers.


This page is simple with a quote and some lace appliques sprayed on with perfect pearls and Stickles glitters on.


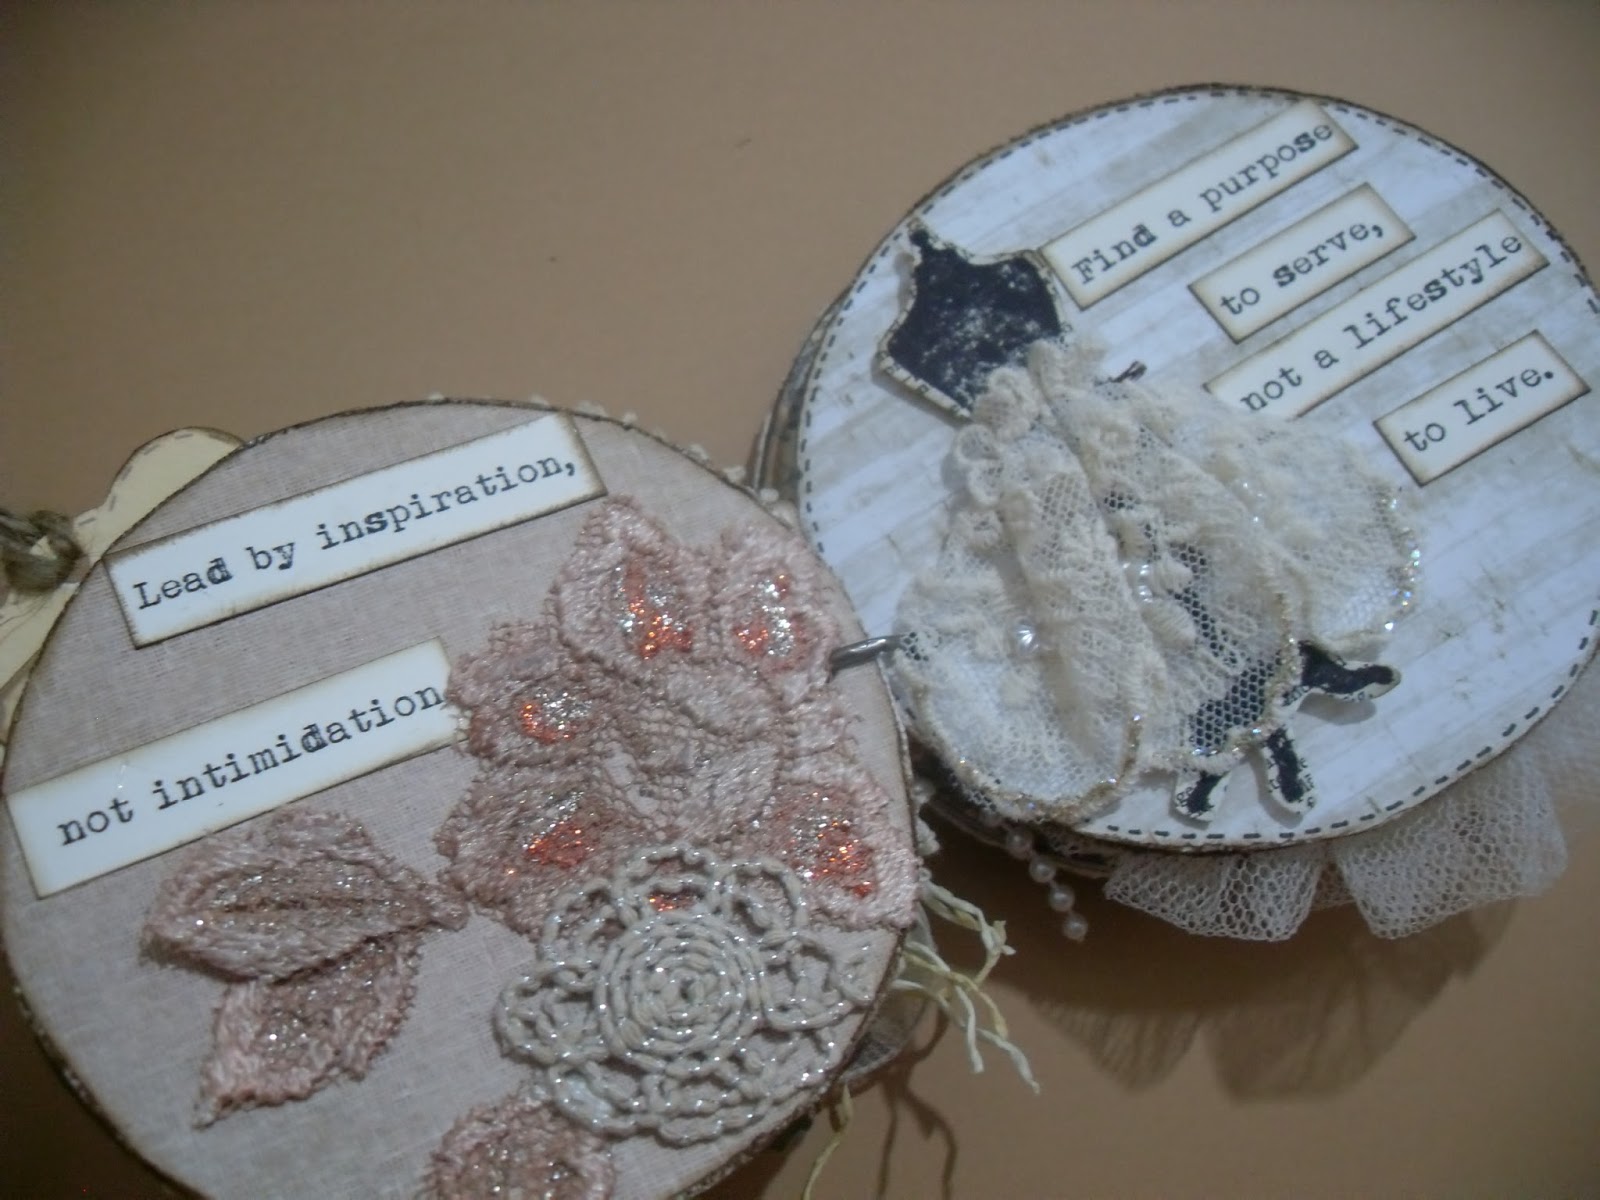
Background paper is from Prima -Lyric Collection. The quote glued on the right side with stitching at the edges of the page. Left hand side a dress maker form stamped on a dictionary paper and cut along the edges, dressed on with a lace skirt.


This page I kept background simple plain as my intention was to dress up the corset which is something  I love doing  like the dress maker form. Stamped the corset and applied silver embossing powder. Folded two strips of tulle and gathered it, layered them on top of each other and glued them to the edge of the corset. For embellishments used pearls on a string and a crochet flower. Finally stamped the sentiment from The Sewing Room set by Visible Image.

I am entering this into Visible Image 'September Sentiment’ Challenge


The background paper is from and old dictionary which I printed and stamped on. Used a sentimental stamp by Visible Image and embellished it with paper flowers.


For the back cover used plain paper and embossed it with   the French Script folder from Tim Holtz- Eiffel Tower & French Script Set. Highlighted the embossing with distress ink and finally sprayed on some liquid 
pearls.


Wish you all a happy crafty weekend

Love Carmen
xxx