Saturday, 4 May 2013

Male Birthday Cards

Good Evening!! It`s International Scrapbook day today, how is your scrapping going? Well recently I had to do a set of men’s birthday cards. Sometimes it’s a bit of a headache what to do, as I like to go in by personal tastes. When it comes to women the choice of what to do, is more an open subject. Yet I still managed to make out these birthday cards with a touch.

Supplies List
  • Prima papers - Romance Novel collection
  • Distress ink pads
  • Rubber stamps - Visible Image and Tim Holtz
  • A4 card 
  • Jewelry charms 
  • Bronze chain
  • Dictionary pages
  • Tim Holtz - upon a time die cut
  • Stickles
  • Empty soda can


In the second card I used a lot of stamping. I do love stamping loads; actually it’s fun and you can play about with them in many different ways. Wish I had all the money in the world to buy as much stamps as i like. I never had an idea how many things you can create with stamping. Yes I am in love with stamping J


As you can notice on the right hand side I have recycled something... a soda can. 


Tuesday, 30 April 2013

Flowers From Soda Cans

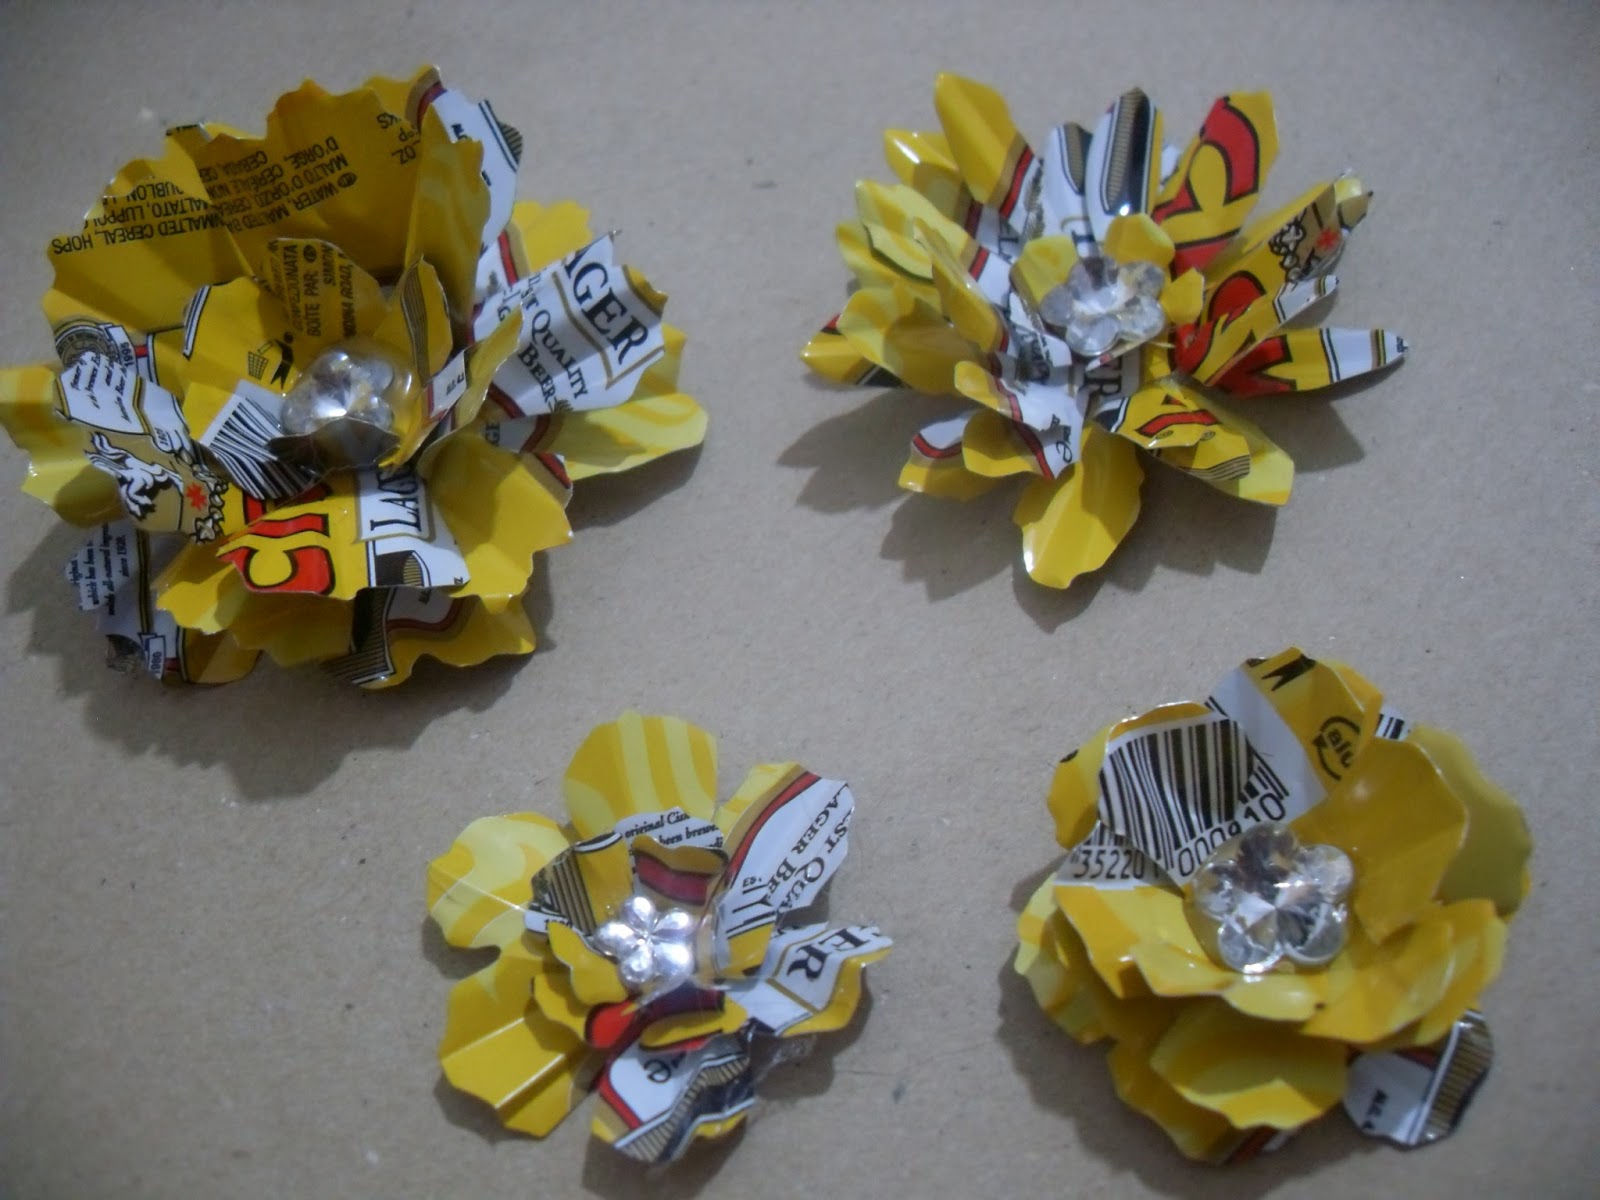
After a day at work I went home and found something waiting for me.  As soon as I stepped inside door, there was this box full of wine corks and two cans of beer. I just said to myself, oh my son is such a darling collecting me all these wine corks from his work and buying some beers. Next thing I discovered the beers, were just empty cans. As soon as he got home he told me all about it. I got to know that the box was traded for 2 flowers made from beer cans, for a work mate. Oh yesss deep joy J  well as it was already paid in advance J I had to roll my sleeves up and start working on the flowers. As I am blessed with a Big Shot cutting out flowers was an easy peasy job, with Tim Holtz tattered flowers bigs die cut. The result was amazing instead of two I made 4 as he was so patient with me.  Everyone was happy, myself with many more wine corks and this man with flowers from his favourite beer J I have some more projects in my mind… but that is for me to know and you to wonder about J.. wink wink!
Bed is calling my dear friends, so until I see you again, wish you a very crafty week!


Wednesday, 17 April 2013

A Blast from the past

I never had a blog before, so wanted to share with you some cards I have done in the past. Becoming a card maker was something I tried to experiment years back. Sometimes we just do need that little push from that special someone, to convince you that you’re good at it and to have a go.  I tried and learned that my work was being liked, apart it was something totally different and more on personal note, than the ones you just buy from any shop. So I started doing cards, the more I did,  the more enjoyed experimenting with all kind of things and materials I found at hand. For this island  it was something new as people were used to buy those ready ones. Lately am noticing many people are doing card making. Some people would think they are expensive, but considering time consumed on a card to get that personal touch, is much more priceless.


The small mini steam machines are a minimized printing of a set of ATC cards by a British artist. Anyone wants info about this artist contact me and will pass you all his contact details


 In these two cards I used two small tiles which I make from fimo clay. As you may also notice I use plenty of flowers done myself, from scarps of curtain material or any piece of material I find around J


Saturday, 6 April 2013

Red or White Wine?

I just do love red wine! I happen to be so lucky to live on a tiny island, with our own local wines made every year and coming from local vine yards too... the sun, the breeze of summer and the smell of wine in the making ... this is what I remember, when my dad used to make wine for our personal consumption...  with the old traditional ways from generation to generation... that type of wine that mellows your body... and what is a Maltese dinner without a glass of wine on the table,  for us Mediterranean’s!

 I am lucky too to get hold of used wine corks, instead of being thrown away, which is a pity. I wanted to find some way of their use, maybe decorate some odd corner and give it that rustic charm. Made this wreath all with corks and with some additional flowers and small pottery jars to give it that rustic charm, Mediterranean look…

So while you have a look…I let you imagine the smell of your favourite wine… and why not, maybe also a glass of wine too… J


Sunday, 17 March 2013

Paris

Bonsoir my friends! Today I am going to share a card and the theme is Paris. For this card I kept the usual touch of vintage colours and mostly black. In this card I incorporated embossing, stamping and rub-ons. For the embossing, used Tim Holtz postal folder and distressed it with distress inks.  For the back ground applied stamping with the focal point the Eiffel tower, underneath made some lines which I normally do with the edges of an old credit card. A pocket watch with glossy accents on, a postage stamp also was stamped and some wording rub ons were added.On top of that fitted the embossed patten and decorated it.


Supplies List

  • A4 Ivory card
  • Shrink plastic
  • Rub-ons
  • Ranger Distress ink pads
  • Lace & seam binding ribbon
  • Feathers
  • Tim Holtz Sizzix Texture Fades Embossing Folders - Distressed Frame & Postal Set
  • Tim Holtz Alterations Sizzix Bigz Die - Tattered Florals
  • Tim Holtz Visual Artistry Collection - Stampers Anonymous
  • Stamps - Live Your Dreams, Pocket Watch by Visible Image
  • Ranger Inkssentials Glossy Accents


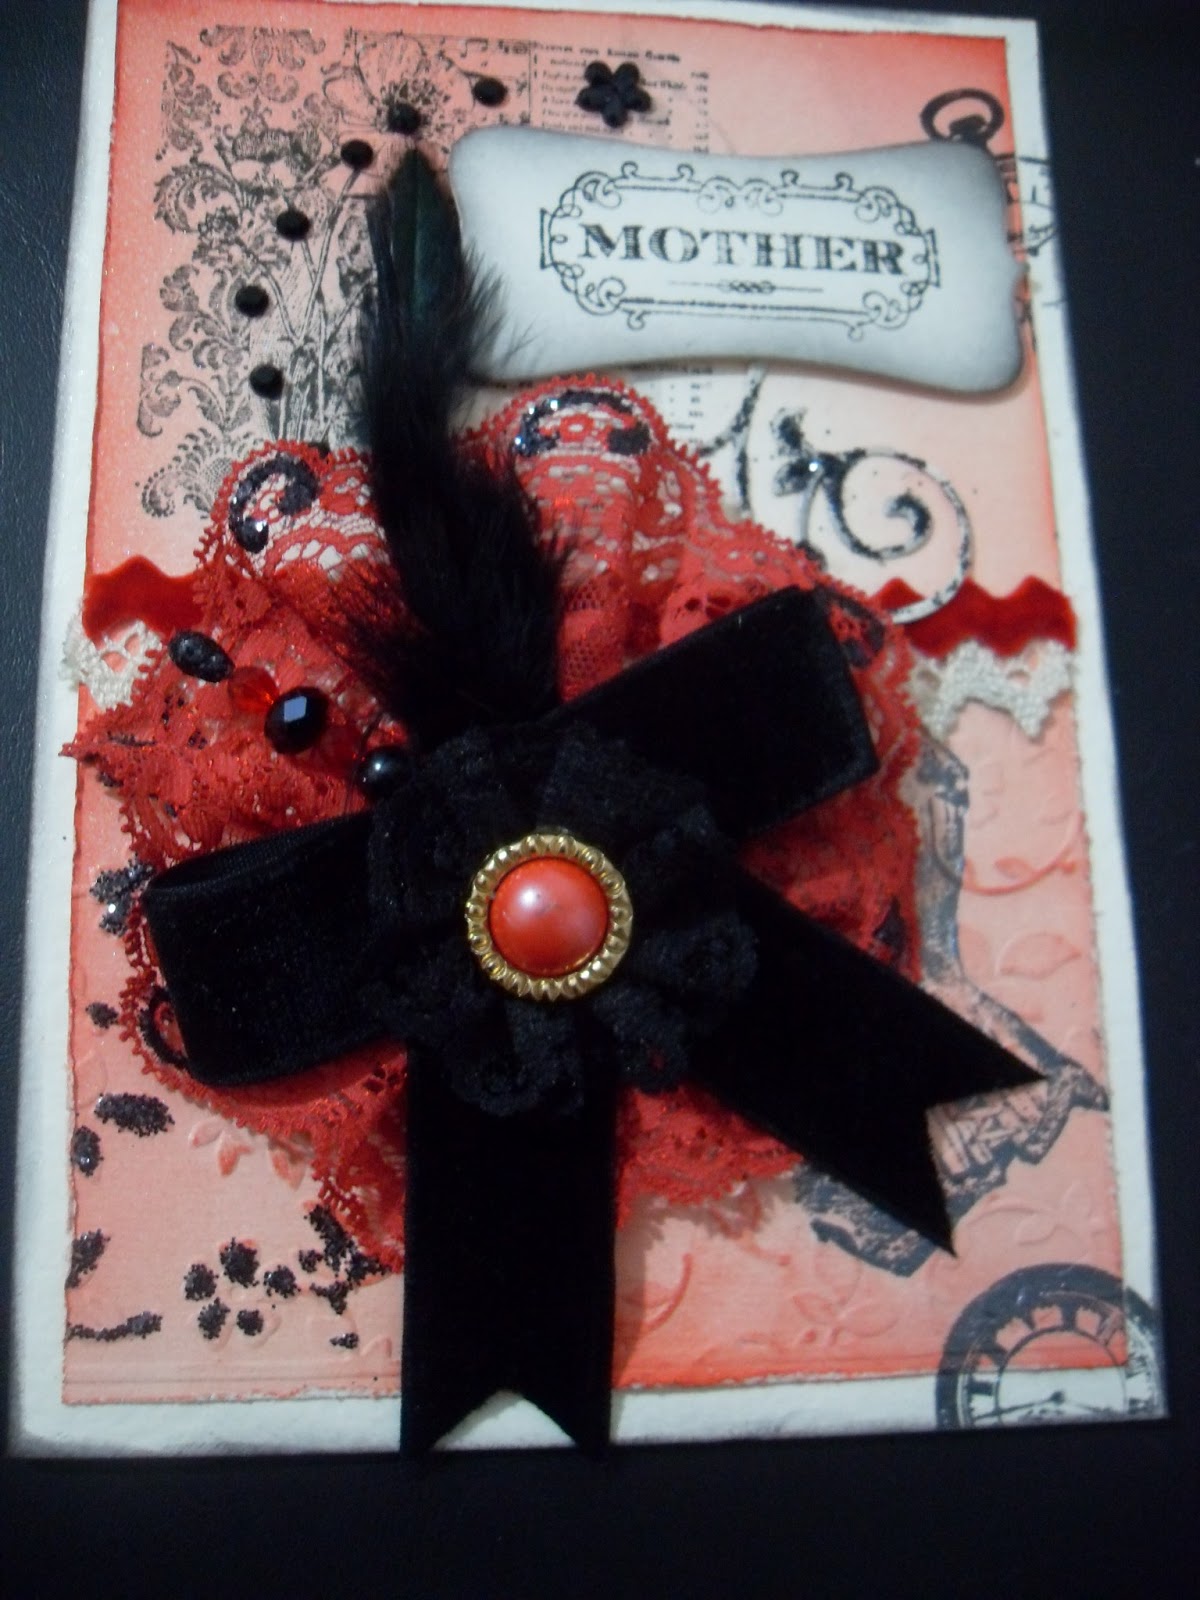
As an embellishment I made a flower from lace, an old button with some black feathers  and  bow to give it that female soft touch. Added a stamp and embellished it with glossy accents to make the wording protruding, and a flower made from a soda can with a little mother of pearl button on top. I do like to recycle materials and I don't throw away cans of beers or soda, actually I cut the top and bottoms out, cut one side and store them flattened down. Since I began crafting I became for conscious how many stuff we throw away which we can make other possible ways with them and protect our environment.


At the end added the greeting message with a little embellishment on top.


For the shrink plastic I used the same design as the embossing folder, actually I do really love how many things you really can do with shrink plastic and also it’s fun to do.


Thursday, 14 March 2013

My Love For Brooms

Ohh yes exactly I love brooms… but not that sort of ones you’re thinking off, J wanting or not still I have to get used to them every single day being the house maid for my family hehe and especially for those four legged gremlins (my cats) especially when they are into one of their mischievous moods… like when your socks disappear or you find your kitchen sponges in very strange odd places J

Today am going to share with you these two brooms that I have done recently in few minutes. All you need is some things that you might have already in your craft cupboard and also it helps you clearing of some odd stuff.

Supplies List
  • Paper and material flowers
  • Lace, ribbon & jute rope
  • Hot glue gun
  • Miniature pottery  jar
  • Brooms various sizes


Tuesday, 5 March 2013

Cage Tag

Good evening hope you all had a lovely weekend ...we had lovely blue skies here today and weather was a bit warm. Today am going to share with you a tag. It was something that I wanted to try for quite a time but never had the opportunity to explore with tags.
For this tag I distressed the back ground and done some stamping and on some stamps applied Perfect Pearls™.

Supplies List
  • Supplies List
  • Ranger Distress ink pads
  • A tag
  • Perfect Pearls™ Pigment Powder
  • Various floral stamps
  • Stamp background - Bronte Border by Visible Image
  • Jute, ribbon and lace
  • Tim Holtz Alterations Sizzix Bigz Die - Caged Bird


I just love doing flowers from any kind of scarp of material I find at hand. This particular flower was made from the left overs of a sheer curtain J Loved the effect that came out and honestly I didn’t expect the effect to come out so beautiful.


As  you might notice from the picture, I adjusted  the  cage in a curved angle,  so that it will have a  3D  effect and also space  for the bird to have its wing set  out. At the lower edge of the cage attached a star charm in the center and at the edges some pearls.
For the cage to give it the effect of metal I used three layers of embossing powder. First layer I used Ranger black distress embossing powder. Second layer applied silver embossing folder and the third layer drizzled a bit of gold in places to give it an aged look.
For the cage hanger used also 3 layers of embossing, but instead of silver used bronze embossing powder with a drizzle of gold embossing.